Product details ready
Show the model, all carton labels, instruction booklet and the room where the wardrobe will stand. Keep labels and instructions available so the item can be identified accurately instead of relying on a general description.
Melbourne handyman & property maintenance
Furniture assembly · Point Leo
wardrobe assembly can be appropriate when a visible maintenance item is worn, loose, damaged or no longer works as expected. Tall panels need workable floor and ceiling clearance. The final footprint alone does not establish room to raise the assembled frame.
Quick answer
Fix Nik provides wardrobe assembly in Point Leo for suitable residential, rental and commercial property requests. supplied wardrobe frames, internal storage and compatible doors Send the property details and photos where useful so the exact scope can be reviewed.
Service overview
A practical wardrobe assembly decision starts with the affected item, its condition and the surrounding materials. Assemble suitable supplied components in the product sequence, align the doors and review the required restraint against the available wall support.
Signs: a bounded task needs a clear decision before work is scheduled or a practical repair list needs the affected item and its condition identified. Causes: loose compatible components or incomplete prior work or conditions that need direct review before a repair option is chosen.
A wardrobe can arrive in separate packs for the frame, doors and internal fittings. Compare carton labels with the delivery list before scheduling. A missing back panel or hardware bag can prevent the next stage even when most of the furniture is present.
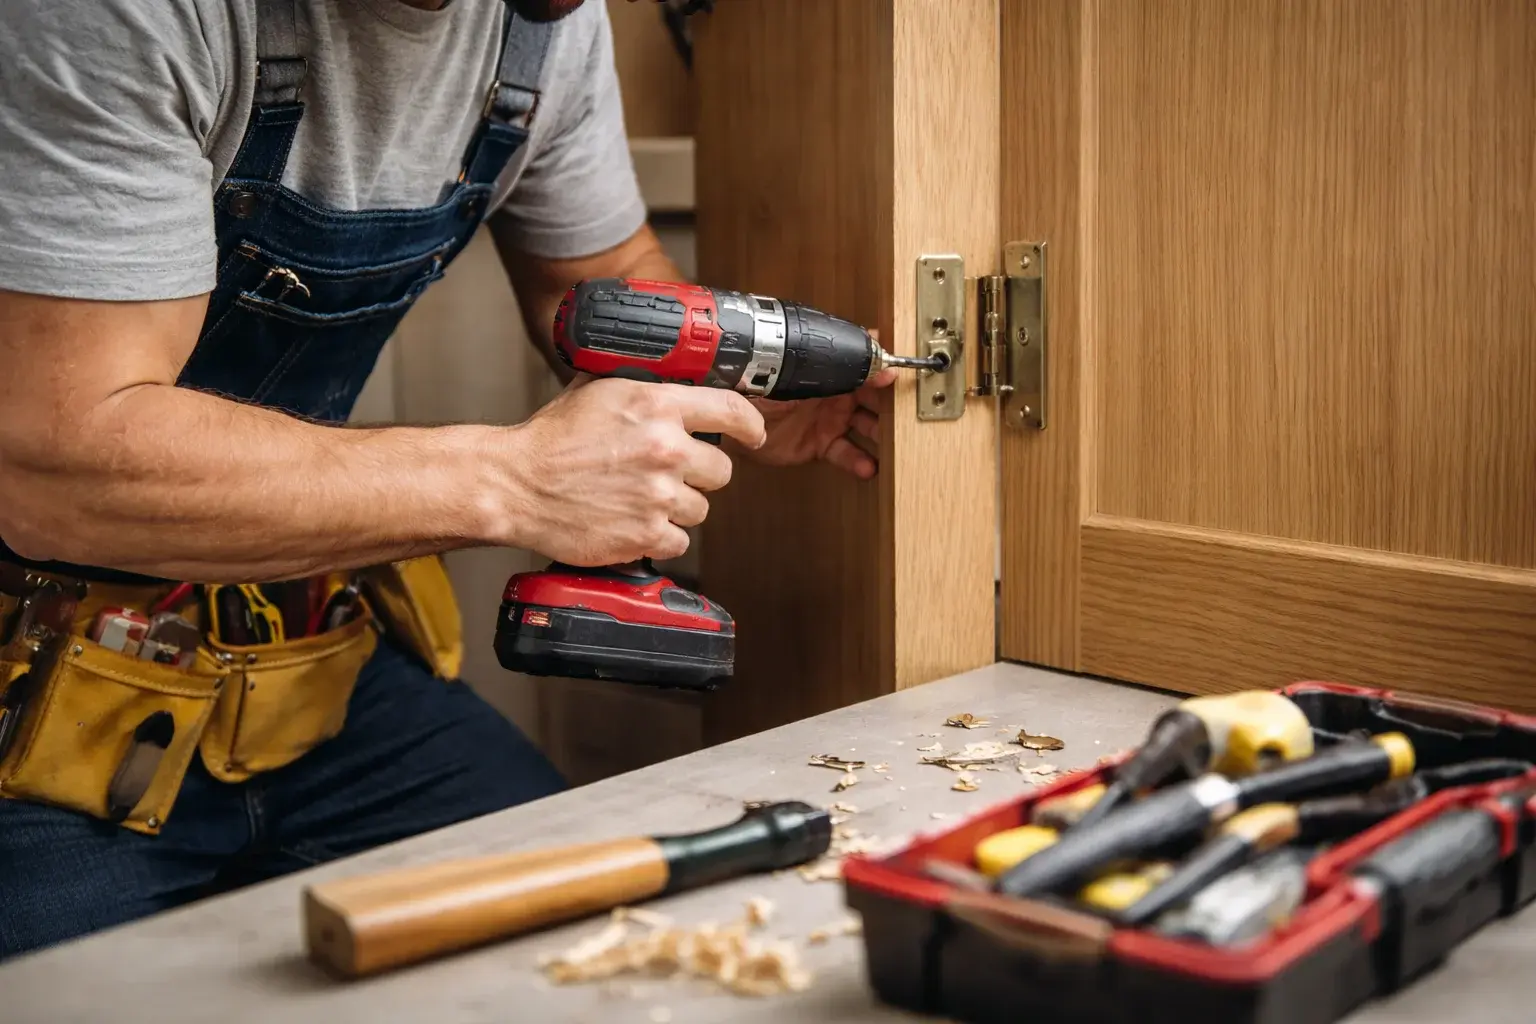
Door gaps depend on the cabinet body as well as the hinges. The frame needs to be assembled square and positioned appropriately before final adjustment. Forcing a door into alignment can disguise an earlier assembly error rather than solve it.
The agreed service covers manufacturer-directed assembly, door alignment and suitable anti-tip fixing review. Exclusions: Bespoke fitted wardrobes, room alterations, electrics, glass modifications, unsupported anchoring.
Point Leo property context
Planning wardrobe assembly in Point Leo starts with the actual item and its setting. Show the model, all carton labels, instruction booklet and the room where the wardrobe will stand. The address identifies the locality; it does not establish the construction, condition or accessibility of the property. A useful Point Leo enquiry identifies the affected room or outdoor area, explains what has changed and includes wide and close photographs. Measurements and access notes help separate urgent repairs from work that can be grouped into a later visit.
Planning the work
Show the model, all carton labels, instruction booklet and the room where the wardrobe will stand. Keep labels and instructions available so the item can be identified accurately instead of relying on a general description.
Do not load the wardrobe until the agreed assembly and required restraint are complete. Follow the product limits for shelves and hanging rails. Discuss any final finish or product-specific restrictions before returning the area to ordinary use.
Tall panels need workable floor and ceiling clearance. The final footprint alone does not establish room to raise the assembled frame. Any unresolved requirement should be explained before committing to a visit or buying additional materials.
Clear the immediate working area where safe and explain heavy furniture or restricted entry. For rentals or managed properties, agree the appropriate permission and identify the person who can provide access.
Common situations
Rails, shelves and drawers can add several stages to a wardrobe build. List the accessories separately from the main frame. Their positions, supports and compatibility should come from the supplied system instructions rather than an improvised combination of similar parts.
Photograph the current stage before trying to correct it. Reversed panels, damaged cam fittings or stripped holes can change whether completion is practical. Work already started may need careful disassembly, and existing damage should be identified in the enquiry.
Review the product restraint instructions before treating assembly as complete. A suitable fixing depends on wall construction, support and safe drilling locations. Where the necessary restraint cannot be installed safely, the unit should not be handed over as ready to load.
How it works
Show the model, all carton labels, instruction booklet and the room where the wardrobe will stand.
Tall panels need workable floor and ceiling clearance. The final footprint alone does not establish room to raise the assembled frame.
Assemble suitable supplied components in the product sequence, align the doors and review the required restraint against the available wall support.
Confirm the Point Leo address, access contact and preparation. Mention anything that limits safe handling or use of the space before scheduling.
Do not load the wardrobe until the agreed assembly and required restraint are complete. Follow the product limits for shelves and hanging rails.
FAQ
A wardrobe can arrive in separate packs for the frame, doors and internal fittings. Compare carton labels with the delivery list before scheduling. A missing back panel or hardware bag can prevent the next stage even when most of the furniture is present.
separate specialist, structural or licensed work from the handyman scope. Tall panels need workable floor and ceiling clearance. The final footprint alone does not establish room to raise the assembled frame.
Show the model, all carton labels, instruction booklet and the room where the wardrobe will stand. Include a wide view as well as close details, keeping product labels readable. Do not dismantle a difficult or unsafe item just to take photographs; explain the access limitation instead.
If a visible maintenance item is worn, loose, damaged or no longer works as expected, send photos of the affected item and surrounding area so wardrobe assembly can be assessed. Include your Point Leo address and access details so Fix Nik can review the work and explain the next step.
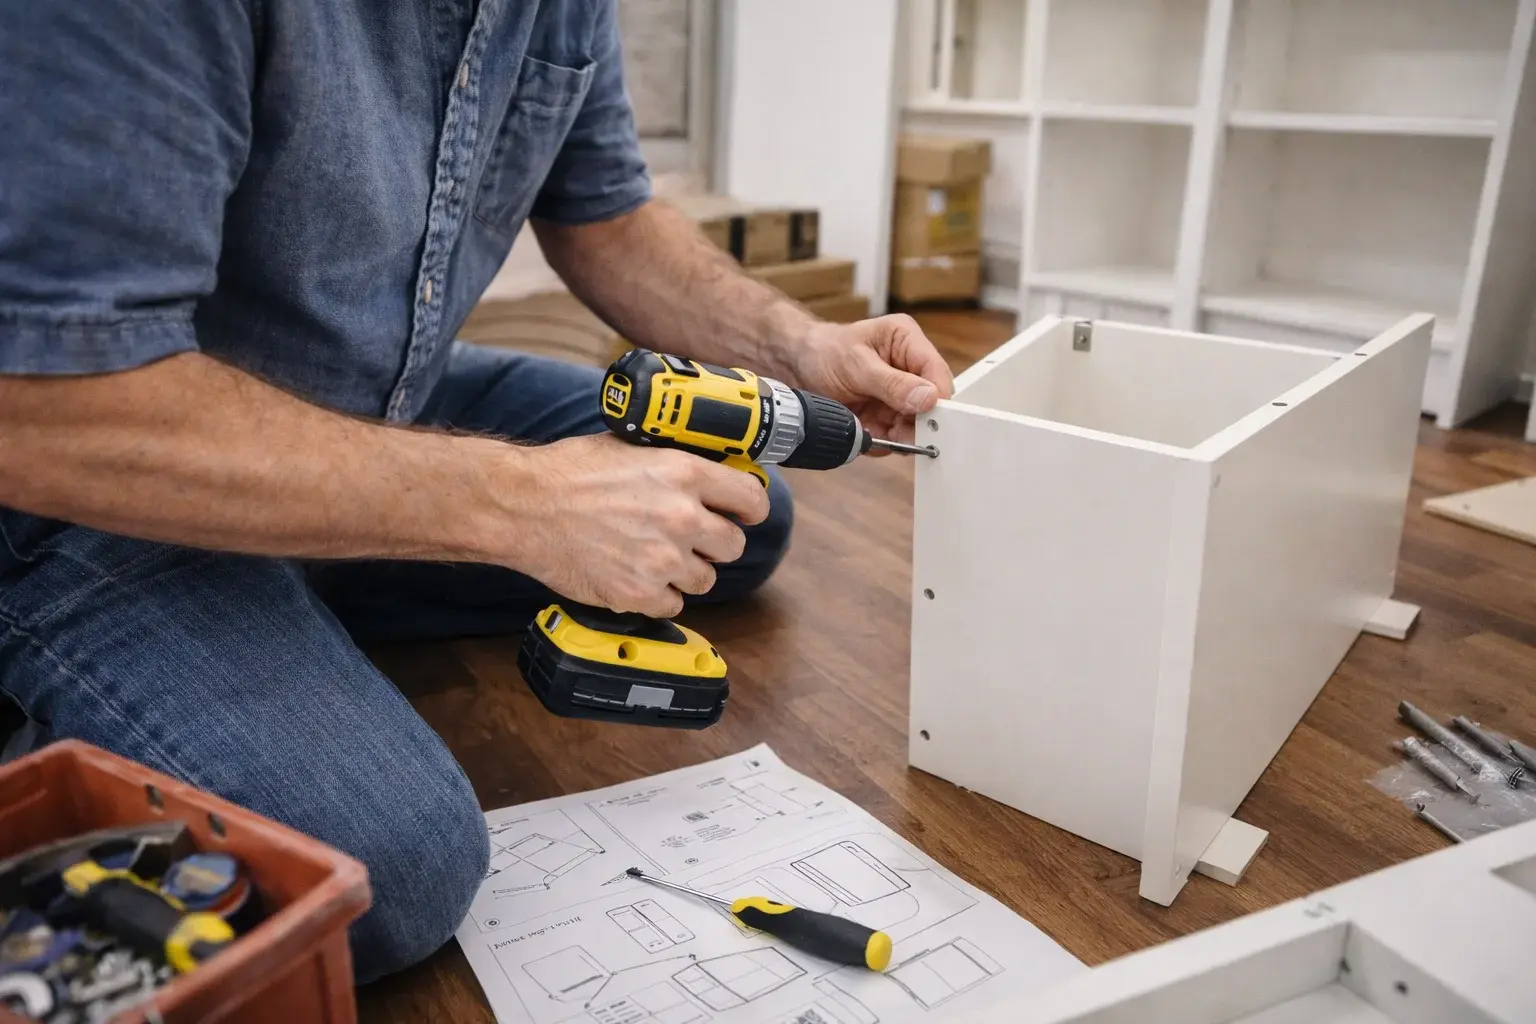
Wardrobe Assembly
supplied wardrobe frames, internal storage and compatible doors
Show the model, all carton labels, instruction booklet and the room where the wardrobe will stand. Keep the immediate work area accessible and identify tenancy, access or material restrictions before scheduling.
Assemble suitable supplied components in the product sequence, align the doors and review the required restraint against the available wall support. Relevant components can include the affected item, compatible ordinary fixings, visible finishes and the surrounding accessible work area.
Tall panels need workable floor and ceiling clearance. The final footprint alone does not establish room to raise the assembled frame. Provide any available product information, previous repair history or material details. A photograph supports an initial discussion but cannot confirm hidden condition, internal components or every fixing requirement.
Rails, shelves and drawers can add several stages to a wardrobe build. List the accessories separately from the main frame. Their positions, supports and compatibility should come from the supplied system instructions rather than an improvised combination of similar parts.