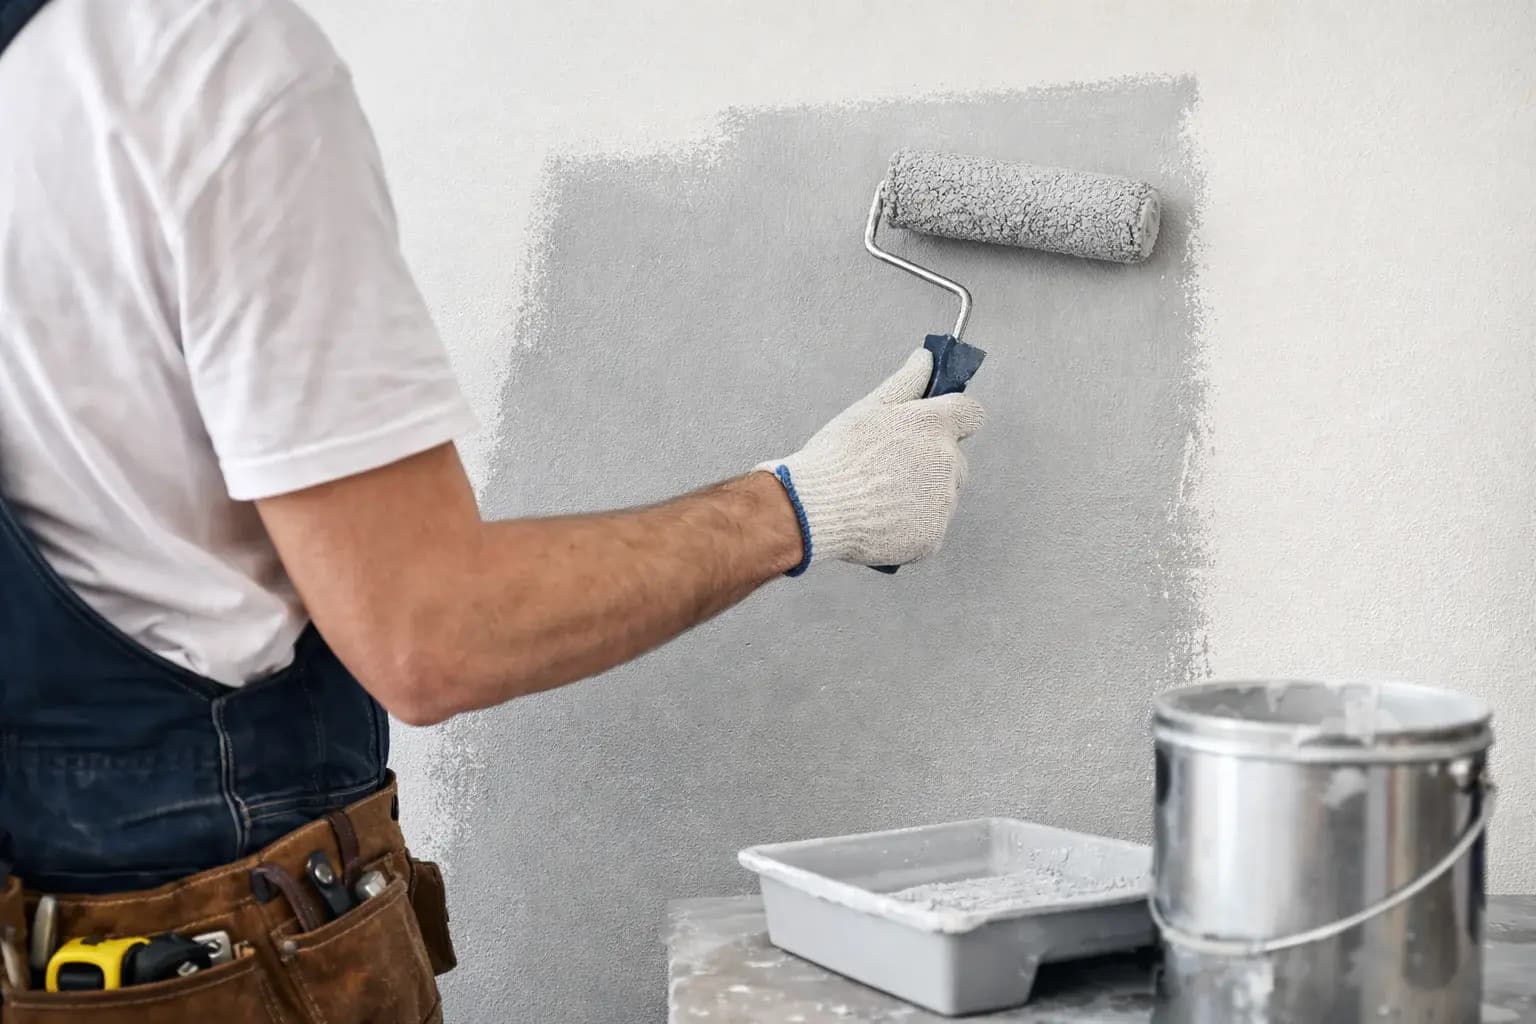
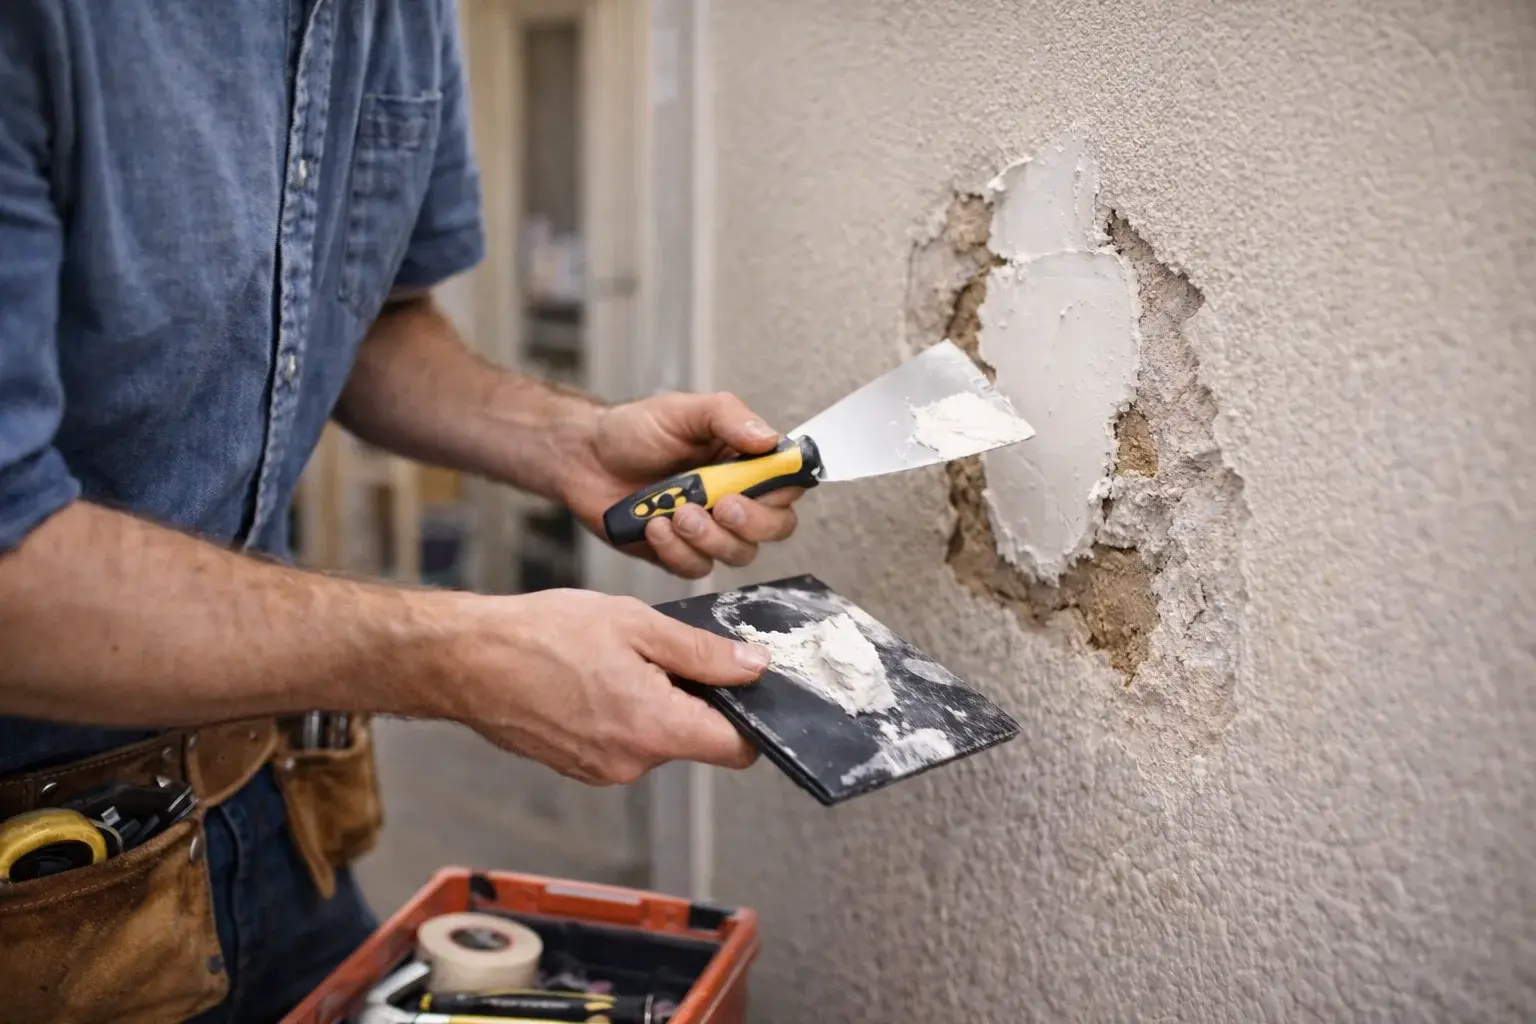
A practical ceiling painting decision starts with the affected item, its condition and the surrounding materials. Protect the room and fixed fixtures, prepare the accepted sound surface and paint the agreed ceiling plane in suitable stages.
Signs: a local repair or prior coating needs preparation before a new finish is considered or the surface is scuffed, patchy, weathered or no longer presents evenly. Causes: incompatible or unknown prior finishes that need checking or surface damage that needs preparation before finishing.
Windows and directional light can make existing ceiling texture or repair edges more visible. Include a photograph in ordinary room lighting. A repaint can improve a sound surface but should not promise to remove underlying unevenness or make every previous repair invisible.
Measure the full plane to be painted and identify beams, bulkheads or adjoining sections separately. Ceiling painting is broader than touching up one patch. Clear boundaries help establish where the finish stops and which additional surfaces need their own agreement.
Allow the specified drying and ventilation before reopening the room. Any remaining substrate or lighting-related finish limitation should be discussed. Limits: Ordinary dry stable accessible ceilings only. No electrical fixture work, leak diagnosis, sagging ceilings, high-access specialist work or hazardous materials.