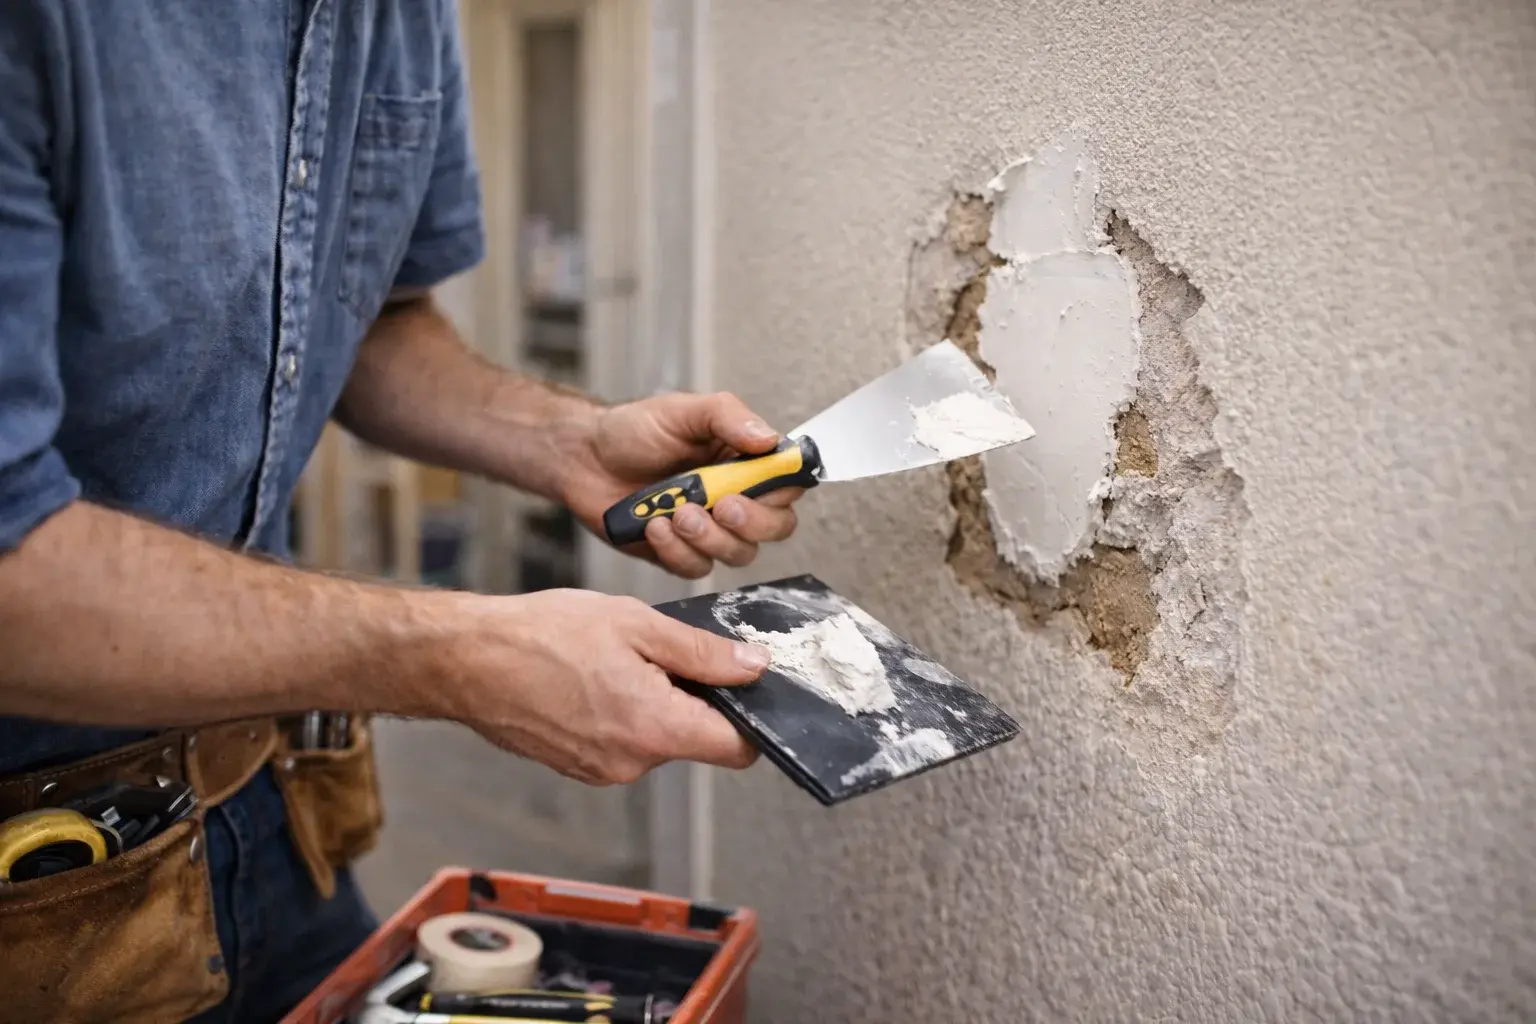
A practical ceiling patch repair decision starts with the affected item, its condition and the surrounding materials. Prepare the accepted small patch, provide suitable ordinary edge support and finish the joints in the required drying stages.
Signs: a stable local hole, dent, crack, patch edge or surface mark is visible or a finish looks damaged and needs preparation before painting. Causes: minor finish movement at a suitable stable surface or a previous patch or coating that needs preparation.
A stain or softened area can indicate an unresolved condition, but photographs cannot diagnose it. The accepted task starts with a dry stable substrate. Leak investigation, structural crack diagnosis and sagging-ceiling work are excluded rather than covered over with a new patch.
A close-up can hide the scale of ceiling damage. Include a wide photograph and measurements so a minor patch can be distinguished from a large replacement area. Widespread damage or movement is not brought into handyman scope by describing it as several small holes.
fill and prepare a suitable shallow surface repair. fit a local patch where backing and material condition allow. Limits: Minor dry stable accessible non-structural patches only. No sagging ceilings, active leaks, structural diagnosis, framing repairs, asbestos or hazardous materials.