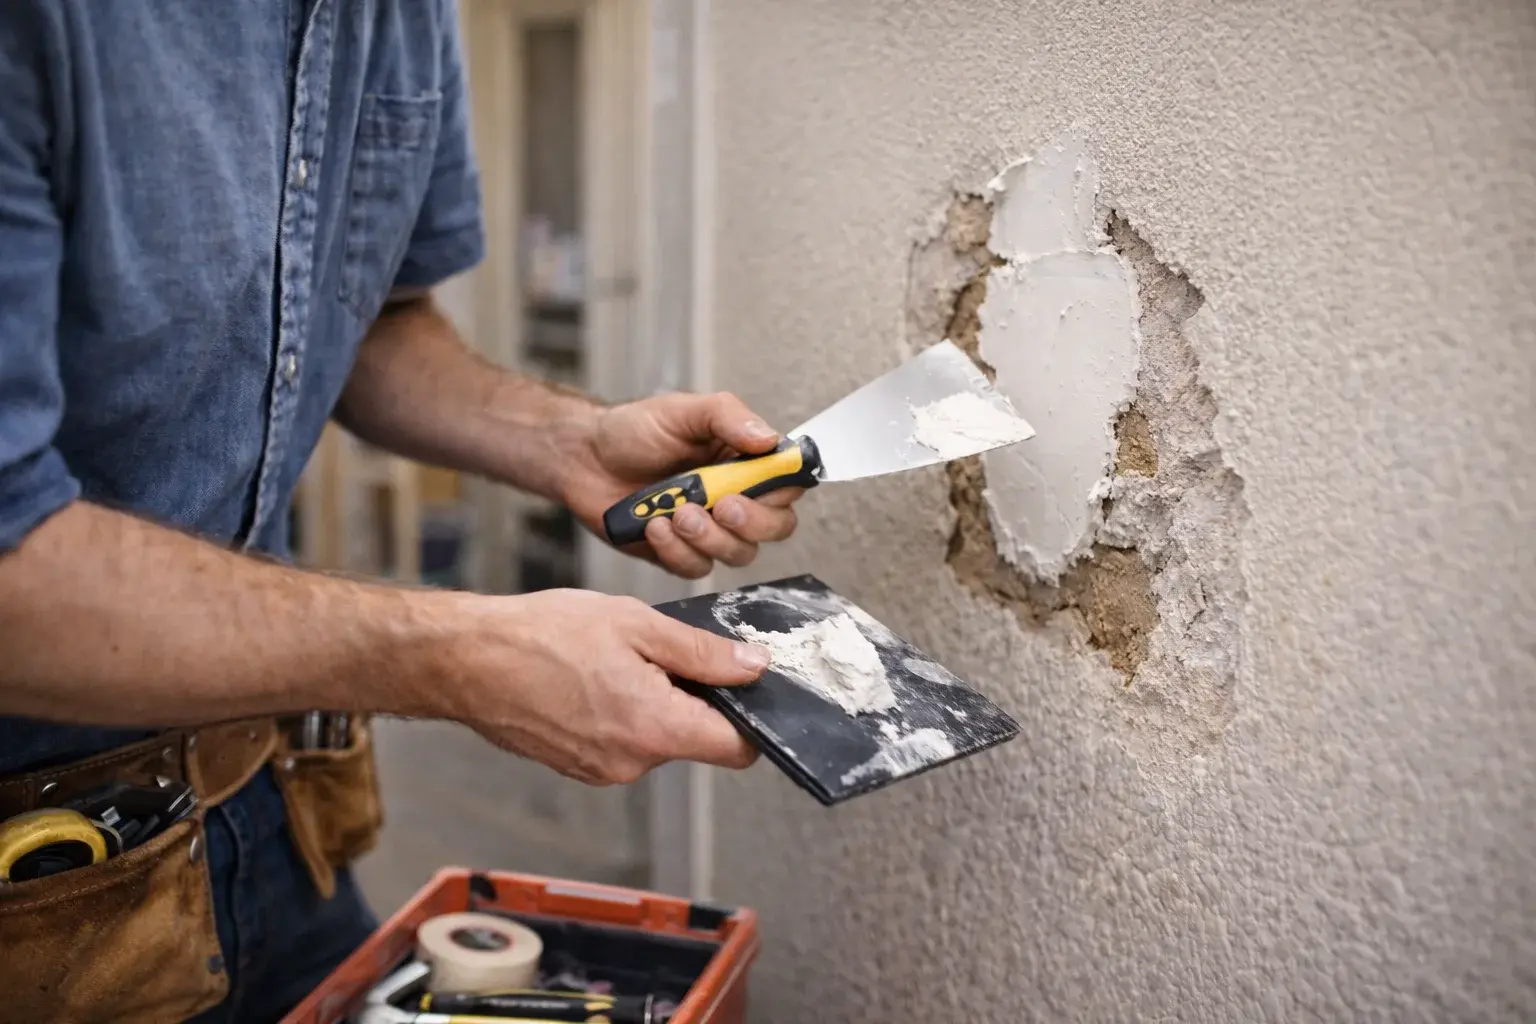
A practical ceiling patch repair decision starts with the affected item, its condition and the surrounding materials. Prepare the accepted small patch, provide suitable ordinary edge support and finish the joints in the required drying stages.
Signs: a stable local hole, dent, crack, patch edge or surface mark is visible or a finish looks damaged and needs preparation before painting. Causes: a previous patch or coating that needs preparation or ordinary impact damage or local surface wear.
Overhead work needs a clear protected area beneath it. Explain furniture, floor coverings and fixtures before the visit. Safe access may require more space than the hole itself suggests, and electrical fixtures must not be moved or disconnected as part of patching.
A newly patched area can absorb paint differently from the surrounding ceiling. Agree sealing and decoration separately where needed. A local touch-up may remain visible under side light; a broader ceiling repaint is a different scope and should not be assumed included.
fill and prepare a suitable shallow surface repair. fit a local patch where backing and material condition allow. Limits: Minor dry stable accessible non-structural patches only. No sagging ceilings, active leaks, structural diagnosis, framing repairs, asbestos or hazardous materials.