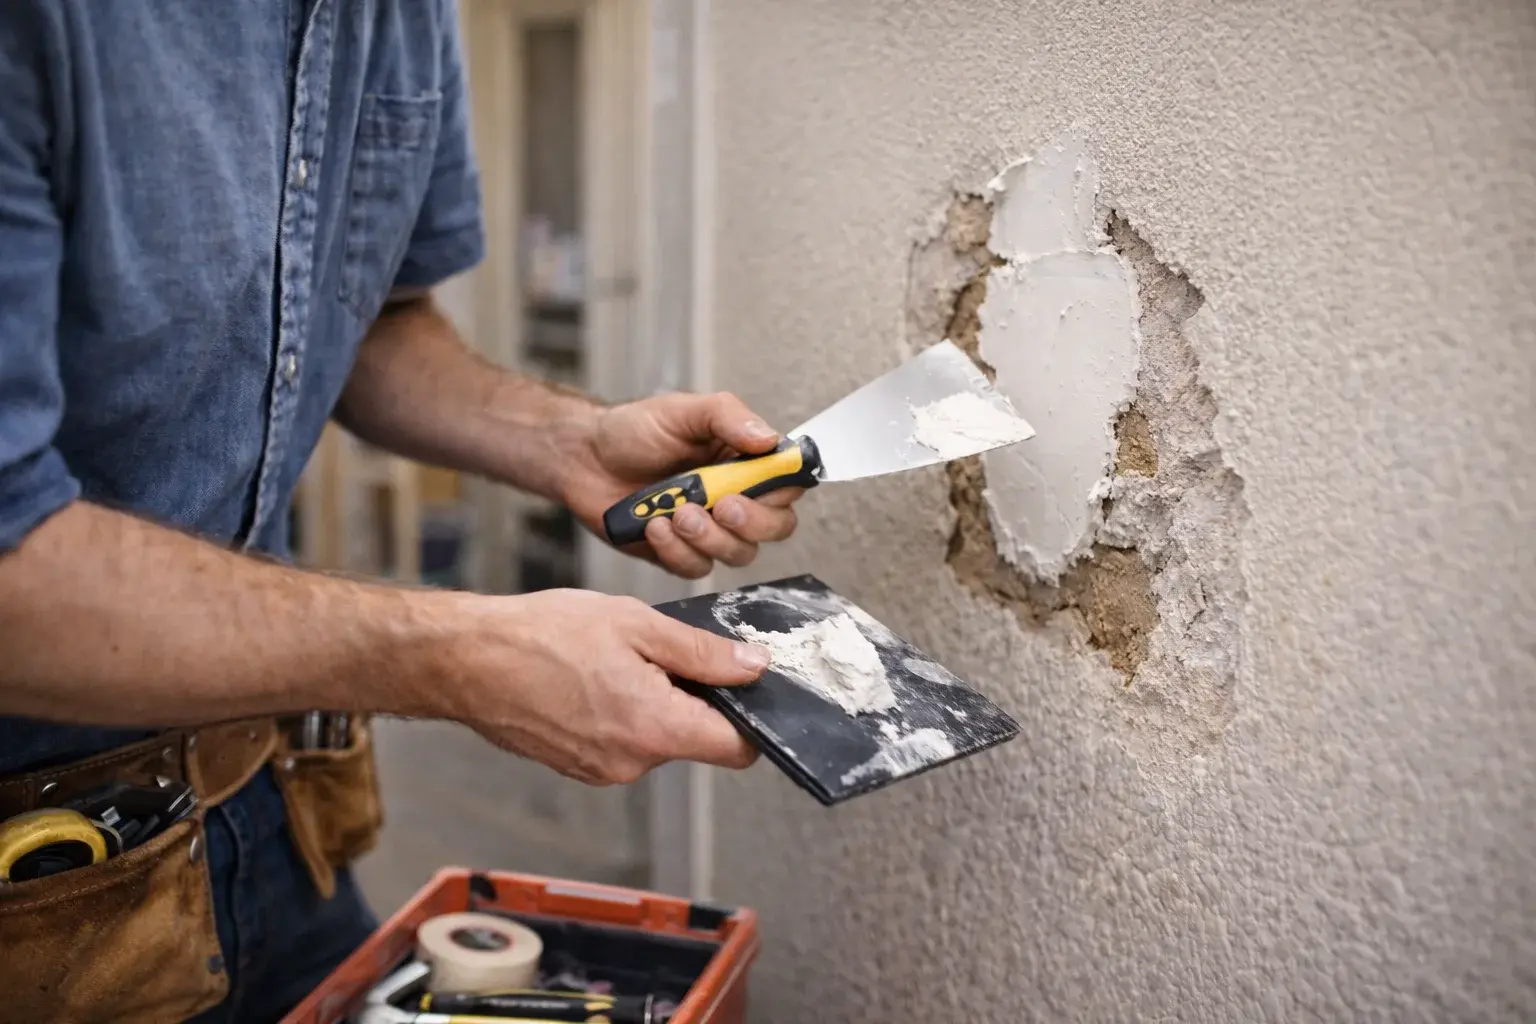
A practical ceiling patch repair decision starts with the affected item, its condition and the surrounding materials. Prepare the accepted small patch, provide suitable ordinary edge support and finish the joints in the required drying stages.
Signs: a finish looks damaged and needs preparation before painting or a local area needs a bounded cosmetic repair rather than an assumed structural diagnosis. Causes: minor finish movement at a suitable stable surface or a previous patch or coating that needs preparation.
Overhead work needs a clear protected area beneath it. Explain furniture, floor coverings and fixtures before the visit. Safe access may require more space than the hole itself suggests, and electrical fixtures must not be moved or disconnected as part of patching.
The junction between new and existing material affects the visible result. Suitable finishing stages are needed around the patch rather than simply filling the centre. Existing texture, previous repairs and side lighting can limit how closely the area blends before decoration.
Allow the patch materials to dry as specified before decoration. Agree whether ceiling painting is separate and discuss visible finish limitations. Limits: Minor dry stable accessible non-structural patches only. No sagging ceilings, active leaks, structural diagnosis, framing repairs, asbestos or hazardous materials.